The global paint protection film market is estimated to reach $461.7 million by 2027. Paint protection film is a great investment for your vehicle that can protect it from abrasion and other types of harm.
However, it can cost several hundred or even a few thousand dollars to get paint protection film professionally installed. If you are looking to save money when applying paint protection film, you may want to learn how to do it yourself.
Do you want to learn how to apply paint protection film to your vehicle? Keep reading this paint protection film guide for the steps you need to follow for the best results.
Prepare Your Vehicle
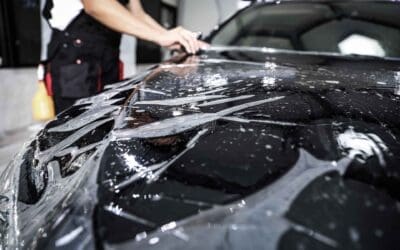
The most important step of applying paint protection film is properly preparing your vehicle for installation. If you want to get the best results, you need to make sure your car is clean and free of debris.
Things like dust, bugs, or even bird droppings can get caught between your paint protection film and the surface of your car. This will prevent a smooth application of your paint protection film, also known as PPF.
If you want a perfectly smooth installation, make sure you thoroughly wash and detail your car and dry it with a lint-free cloth.
You also need to be sure that your engine and hood are completely cool before you can apply the paint protection film. If it is still hot, it will dry out the solution that you use to apply the paint protection film and it can damage the plastic film.
Use an Installation Gel or Soap Solution
Next, it is important that you use some type of installation gel or soap solution to make it easier to apply your paint protection film. You will need to apply either the gel or soap solution to your paint protection film to ensure that it properly adheres to the surface of your vehicle.
Cut the Paint Protection Film to Size
What is paint protection film? It is the film that you apply to your vehicle to protect it from chips and scratches! To get the best installation possible, you need to cut your paint protection film to the right size.
Make sure you carefully measure the area that you want to cover with film. Measuring more than one time will ensure that you get the right size for your film and that you don’t waste any of your products.
You may even want to give yourself a little bit extra around the edges so you have some room to work.
Remove the Liner
Once the paint protection film is cut to the right size, you should lay it on a table with the liner side facing you. You will need to remove the liner to expose the adhesive of your paint protection film.
The adhesive is quite sticky, so it is important that you get your hands wet with your installation gel or soap solution. This will keep it from sticking to your fingers and will also prevent you from leaving fingerprints on your newly installed paint protection film.
Apply Solution to Adhesive and Surface
After removing the liner from your paint protection film, you can apply the application solution to the adhesive side of your paint protection film as well as the surface of your car.
This will ensure that it bonds properly to your car!
Applying the solution to these areas will also make it easier for you to adjust the placement of your film without causing any issues.
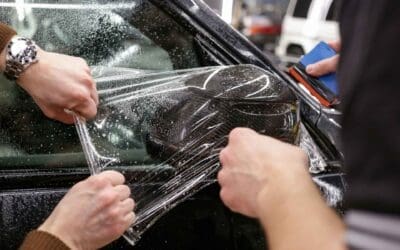
Slide the Film into Place
With the solution applied to your vehicle and the adhesive of your paint protection film, you are ready to apply your paint protection film. To ensure that you do not trap any air bubbles between your paint protection film and your car, make sure you slide the film into place rather than lifting it.
As was mentioned before, the solution you applied to your vehicle will make it easy to make adjustments to your film if necessary. Make sure it is perfectly placed before you remove any air bubbles or solution.
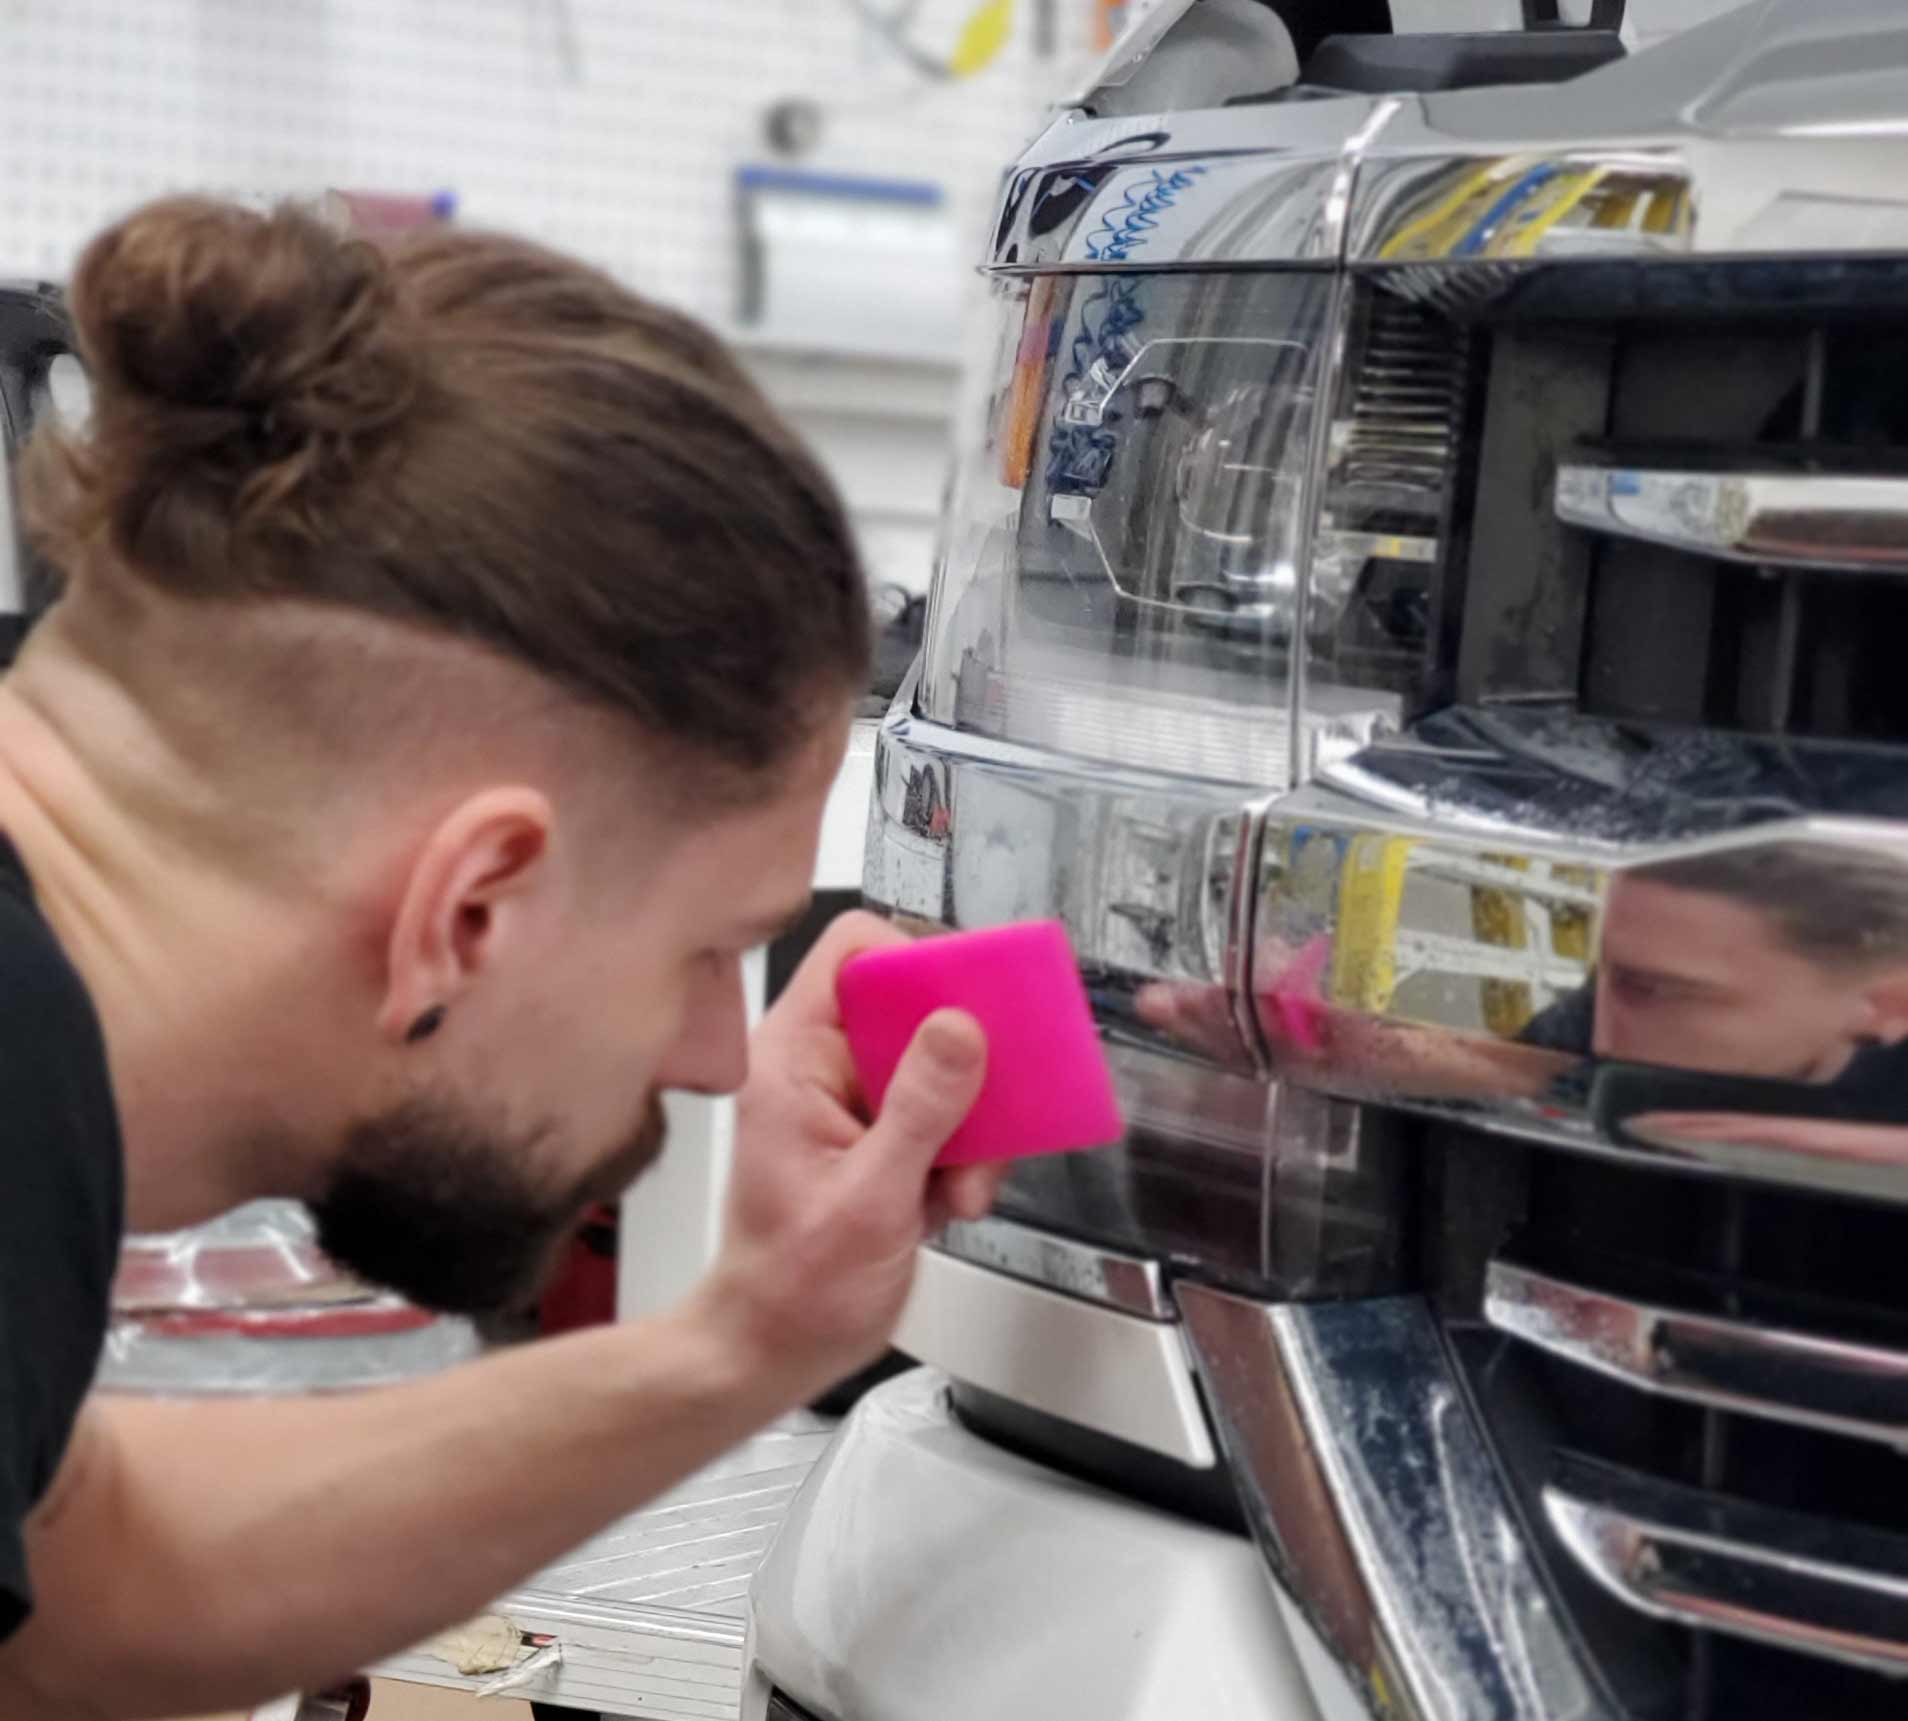
Use a Squeegee
Once your film is properly placed, you can use a squeegee to flatten the film into place and bond it to your vehicle. Using a hard squeegee will help you remove any remaining solution that is trapped between your vehicle and the paint protection film.
It will also help you remove any bubbles that formed during the process.
To get the best application, you should use overlapping strokes with your squeegee and push any air or remaining solution towards the edges of your film. Then, you can use a dry cloth to smooth out the surface and remove any liquid that remains.
As you do this, check for signs of bubbling or blistering on your paint protection film. If you notice any, you can use a needle to puncture the blister and smooth out the paint protection film.
Let Your Paint Protection Film Dry
Finally, you must let your paint protection film dry completely. You can expect this to take about 48 hours.
If you don’t wait long enough, the paint protection film may not bond properly with your vehicle and it will not last as long.
Learn How to Apply Paint Protection Film Today
Learning how to apply paint protection film can save you a bit of money and help you protect your vehicle.
Still, it may be best to hire a professional to help with paint protection film installation. It can be easy to make mistakes while applying paint protection film and professionals are trained to provide you with the best results. If you need help with PPF installation, MI Paint Protection can help!
Contact us today to learn more about our services or to get a free estimate for our services.